Ingredients:
2 1/4 c. all-purpose flour
3/4 tsp. salt
2/3 c. COLD butter
8-10 TBS cold water
1) First mix the flour and salt together. Then, cut in the butter with a pastry blender small chunks at a time. (If you don't have one of these, two knives work just as well, it merely takes more effort!) Continue until mixture consists of crumbs no larger than a pea.


2) Then, add water a tablespoon at a time, tossing with fork or knife after each addition. I do this by eye; I no longer measure the water amount. I continue adding water until the mixture looks completely moistened (NOT WET).

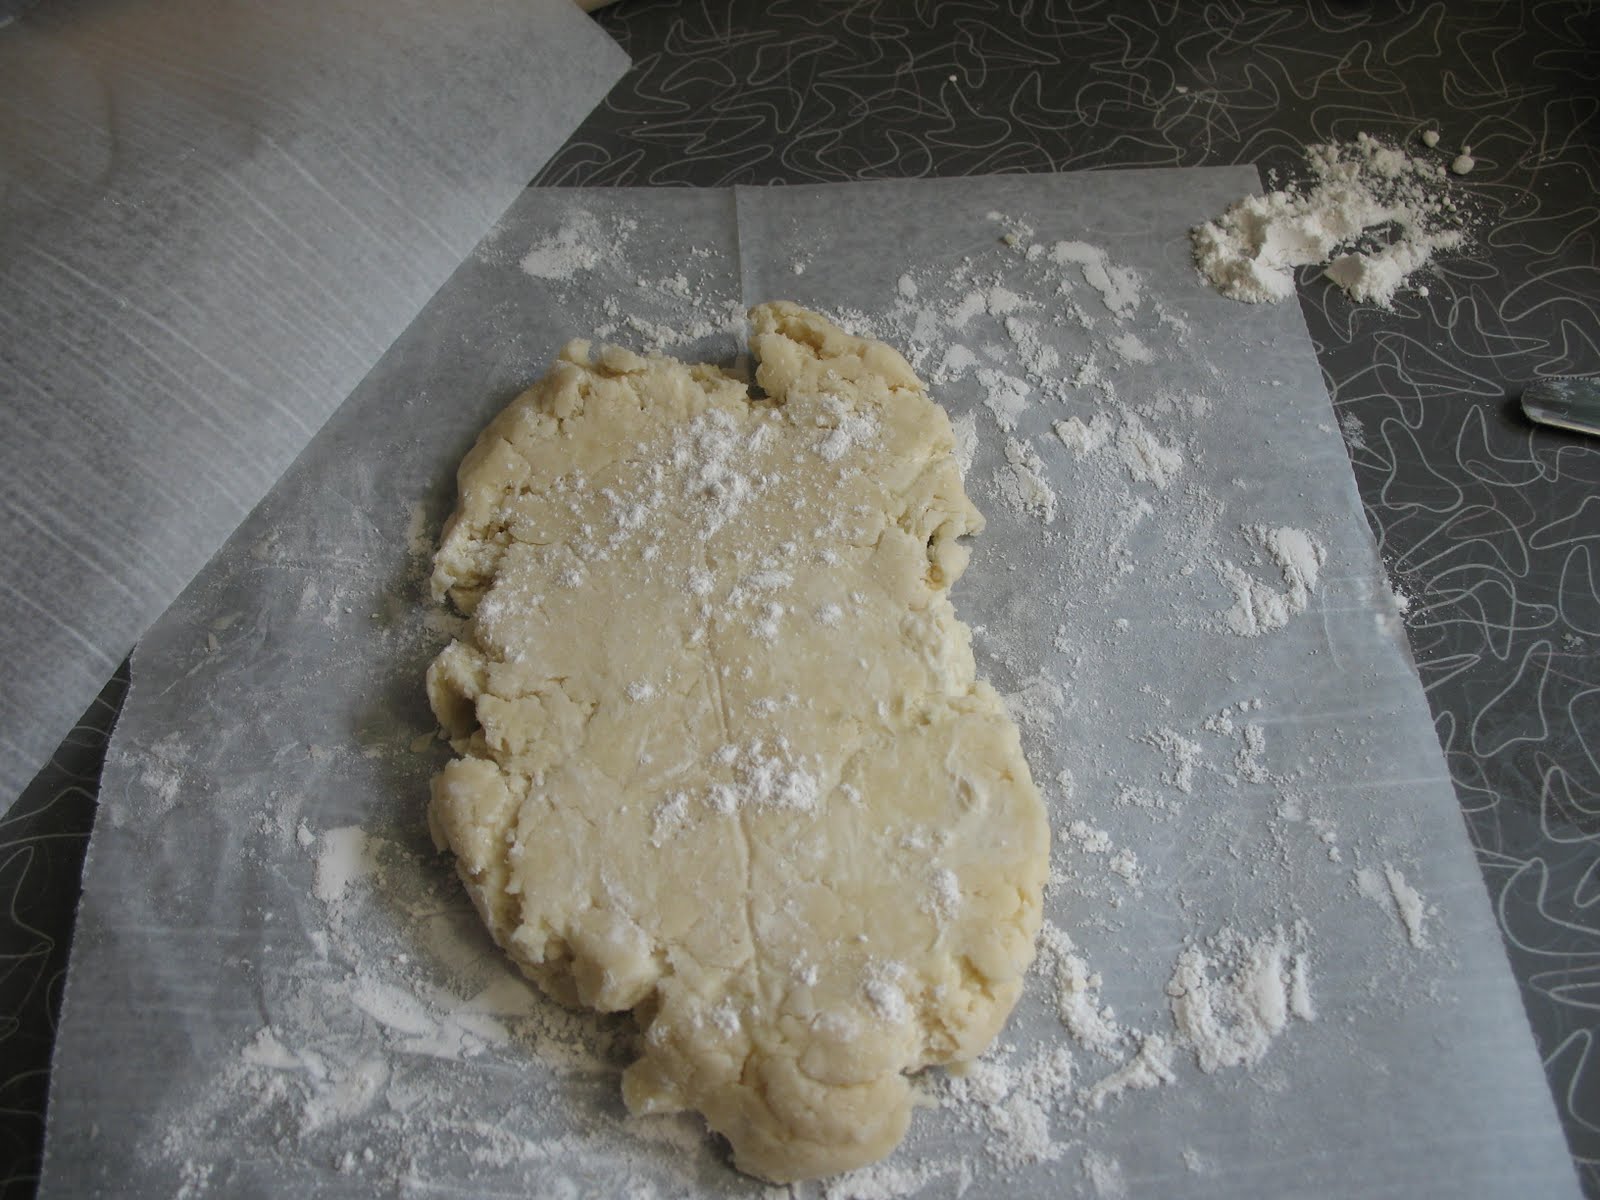
3) You should be able to form a large ball with the crumbs. Be careful not to spend much time making the ball! The more you play with the dough, the less delicious and flaky it will ultimately be. If it's still too crumbly, add more water. (But again, be careful not to add too much.) At this point, separate the large ball into half and place one half on a piece of wax paper with a dusting of flour.

4) Now, this step is not crucial to the crust, it is merely my way of making the process less anxiety-ridden. It's very stressful when the crust gets stuck to things and you can't easily move it to the pan. I have developed this method so as to keep the process as stick-free as possible.
I lay another piece of wax over the dough and roll it. After the first couple of rolls, I pick up the piece of wax, sprinkle a little more flour, and turn it over to the other side to do the same. This seems to prevent the dough from sticking and makes it easy for me to ultimately move it from the counter to the pan with little effort.


(If at any point, it seems like the dough is sticking to the wax, simply lift it and sprinkle a bit more flour.)
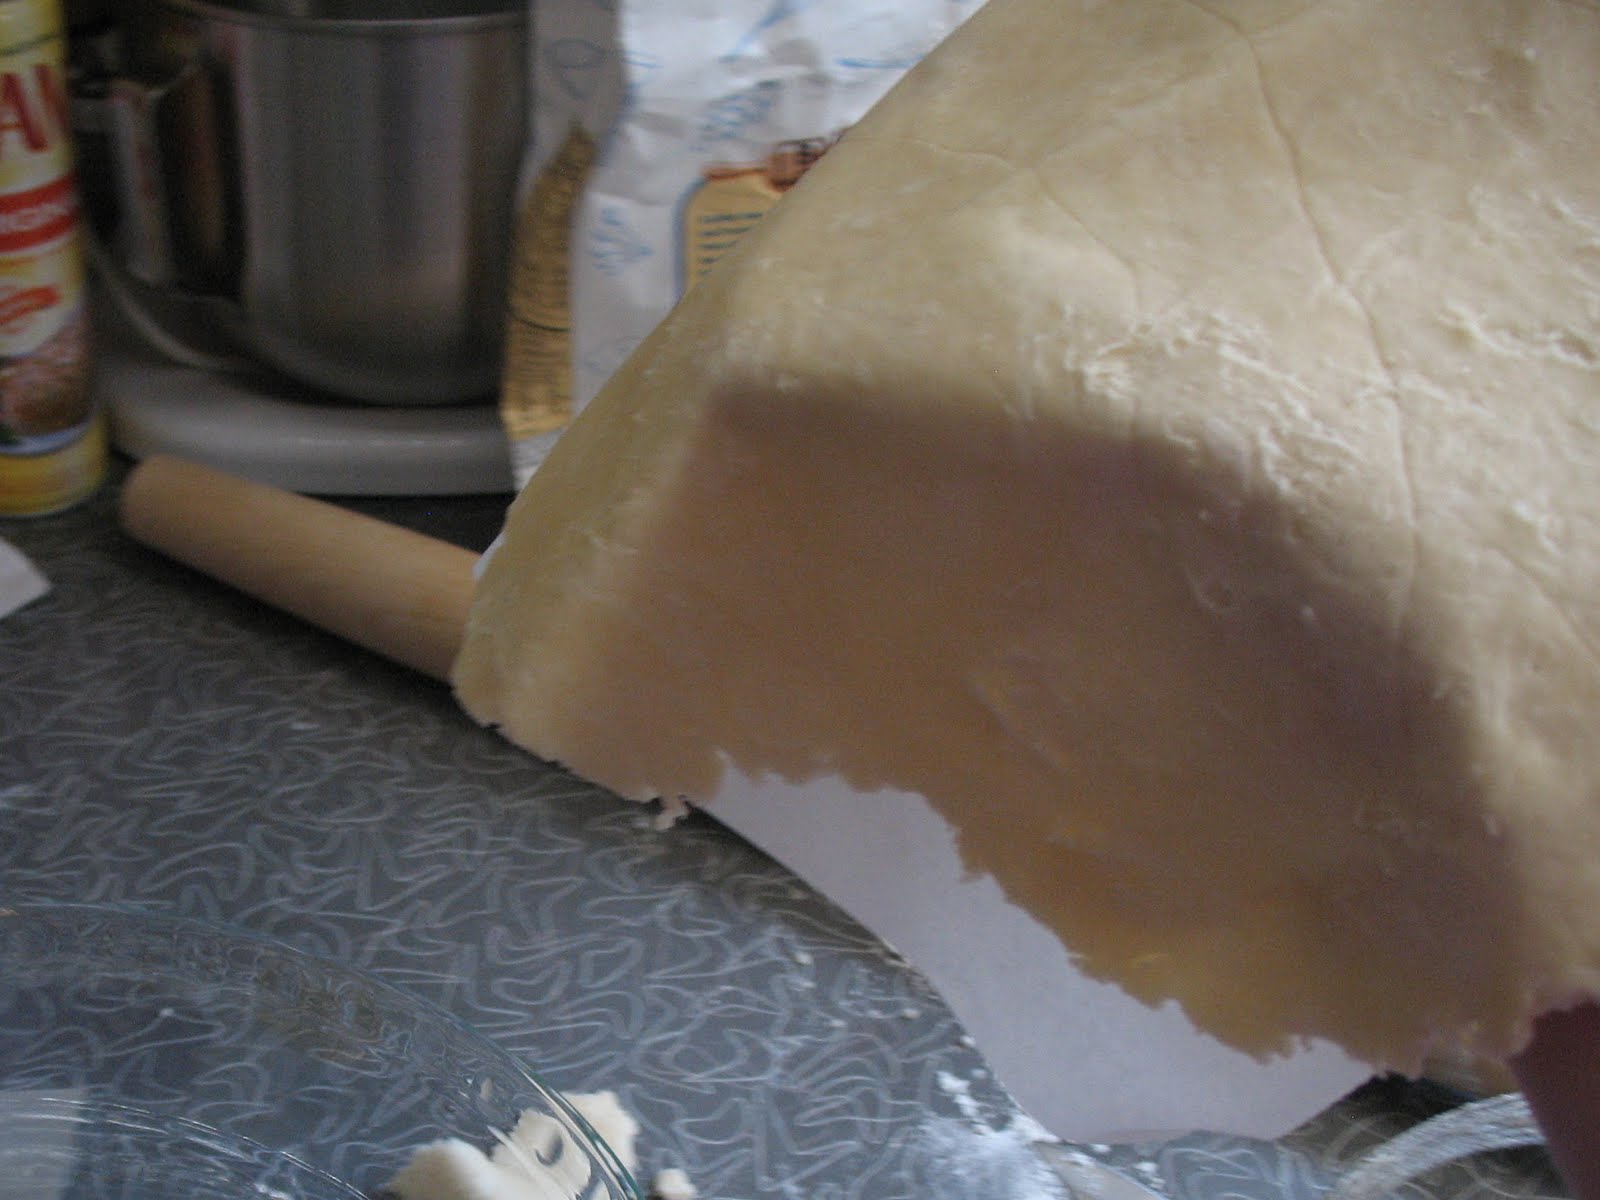
5) When you are finished rolling out the dough, simply lift off the top layer of wax paper and then slide your hand under the bottom piece of wax paper. Flip the dough onto the bottom of the pan. (Sorry for the bad quality of these pictures; I was attempting to photograph the process myself which was difficult since both my hands were occupied... :) )


6) For your second crust, simply repeat steps 3-5, though you may want to make the circle a bit larger this time. Lay the crust on top of the filled pie.


7) Pull off any extra dough to leave only about one inch extra around the entire pan. Fold this under itself to create a nice clean look on the top.

8) Next, you want to put on the finishing touches. Beautify the edges however you'd like (pinching in one finger is my standard method, as shown here.) Make a few cuts on the top of the pie to let steam escape (you can always get creative here in your designs....). And then finish it off with a sprinkle of sugar for good looks and added "yum!"


And you're done! Simply put it in the oven and follow the baking directions for the pie. Remember to put foil on the edges of the crust to keep them from browning too soon. (But be forewarned, sometimes this is tricky!) You'll be glad you took the time to make homemade crust in the end...!

You take the best food pictures ever!! The whole time I was reading this I was dreaming of the blackberry pie you made while we were there! Beautiful and delicious!!
ReplyDelete